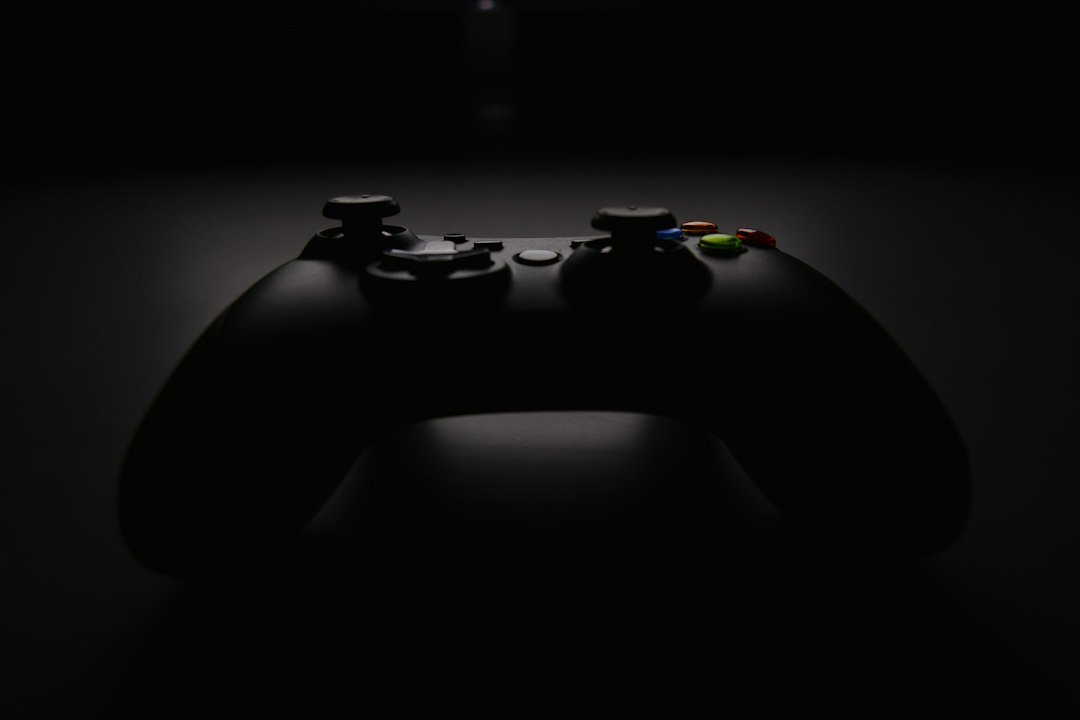
Is Modding Your Controller Worth It? DIY Upgrades vs Pro Pads
ℹ️ This post may contain Amazon Associates affiliate links — Best Value Lab may earn a commission from qualifying purchases, at no extra cost to you.

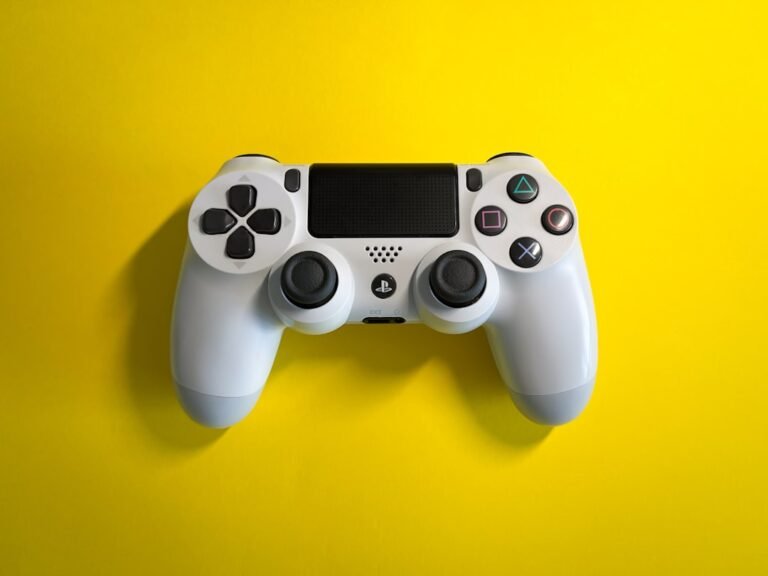
Few things frustrate a gamer quite like the sudden onset of stick drift in the middle of an intense match. You point your crosshairs, let go of the analog stick, and watch helplessly as your character slowly spins toward the sky. Standard first-party controllers for modern consoles are built with excellent ergonomics, but they rely on mechanical joystick modules that are destined to fail over time.
When your controller starts acting up, the immediate instinct is to throw it away or fork over nearly two hundred dollars for a premium pro replacement. However, standard professional gamepads often use the exact same drift-prone joystick components as their cheaper siblings, meaning you are simply paying more to run into the same technical dead end a few months down the road.
Fortunately, there is another way: taking matters into your own hands. By upgrading your existing controller with Hall Effect joysticks, tactile mouse-click switches, and customizable back paddles, you can build a premium gamepad for a fraction of the price. Let us dive into the specifications, challenges, and rewards of DIY controller modding to see if it is the right path for you.
📑 Table of Contents
Quick Comparison
| 🔍 Feature | A DIY Modding Kits | B First-Party Pro | C Third-Party Premium | 🏆 Recommendation | Action |
|---|---|---|---|---|---|
| 🛠️ Skill Needed | High (Soldering) | None | None | 🏆 Best for beginners: First-Party Pro | 🛒 Check Price |
| 💸 Average Cost | $15 – $40 (Parts) | $180 – $200 | $80 – $150 | ✅ Best value: DIY Modding Kits | 🛒 Check Price |
| 🕹️ Drift Resistance | Excellent (Hall Effect) | Poor (Standard ALPS) | Excellent (Hall Effect) | 🏆 Winner: Third-Party Premium | 🛒 Check Price |
| 🎨 Customization | Unlimited | Limited | Moderate | ✅ Best look: DIY Modding Kits | 🛒 Check Price |
Key Specifications
💡 RECOMMENDED FOR YOU
🛒 Buy Now $34.99 on Amazon (as of Oct 4)
Price shown as of publish time and may change — see Amazon for current price.
- Compatible Models: Xbox One S (1708), Xbox Series X/S, and PlayStation 5 DualSense controllers.
- Upgrade Components: Electromagnetic Hall Effect joystick modules, tactile microswitch face button kits, and reprogrammable back-paddle boards.
- Estimated Tool Requirements: T6/T8 Torx security screwdrivers, plastic pry tools, low-temp solder, a soldering iron, and desoldering wick or a solder sucker.
- Estimated Time Investment: 1 to 3 hours for cosmetic or paddle upgrades; 3 to 10 hours for full desoldering and Hall Effect calibration.
Pros
- Permanent Drift Solution: Hall Effect sensors utilize magnets rather than physical contact pads, virtually eliminating mechanical wear and drift.
- Substantial Cost Savings: You can completely rebuild an existing, broken controller with premium parts for under fifty dollars.
- Unmatched Tactile Feel: Swapping mushy membrane buttons for clicky microswitches mimics the satisfying, instantaneous response of a high-end gaming mouse.
- Eco-Friendly Repair: Keeping older hardware like the Xbox One S controller out of landfills by upgrading it to modern standards reduces electronic waste.
Cons
- Steep Learning Curve: Desoldering multi-pin joystick modules from a multi-layered motherboard requires patience and solid soldering experience.
- Calibration Challenges: Hall Effect joysticks require precise manual calibration using software tools to center the magnetic fields perfectly.
- Risk of Permanent Damage: Applying too much heat to the controller circuit board can easily lift delicate copper traces, permanently ruining the device.
Who Should Buy This
DIY controller upgrading is ideal for tech enthusiasts and hardware tinkerers who enjoy hands-on projects and own basic soldering gear. If you have a drawer full of drifting controllers and want premium features—like back buttons and instant-trigger clicks—without the premium price tag, this project offers immense satisfaction. However, if you lack the patience for micro-soldering, sticking with a pre-assembled third-party controller featuring integrated Hall Effect sticks is a much safer alternative.
Final Verdict
Upgrading your own controller is the ultimate way to defeat planned obsolescence and customize your gaming setup exactly how you want it. While the soldering process can be incredibly challenging for beginners, successfully breathing new life into a broken DualSense or Xbox controller feels like a true superpower. If you are ready to save some cash and build a gamepad that outlasts the competition, grab a soldering iron and start exploring the world of DIY controller upgrades today.
Frequently Asked Questions
Do I need to solder to upgrade my controller?
It depends on the upgrade. Cosmetic shell swaps and simple back-paddle attachments do not require soldering, but installing stick-drift-proof Hall Effect joysticks always requires soldering skills.
Are Hall Effect joysticks really immune to stick drift?
Yes. Because they use magnets and magnetic sensors instead of physical carbon contact pads to measure movement, they do not suffer from the mechanical wear and tear that causes standard drift.
Is it cheaper to mod an old controller than to buy a new one?
Yes, modding parts kits generally cost between fifteen and forty dollars, making it significantly cheaper than buying a new sixty-to-eighty-dollar standard controller, provided you already own the tools.
⚡ Pro Tip: Never overpay on Amazon!
🧩 Install CartVerdict FREE — Amazon deal score, seller trust & AI buy verdict
As an Amazon Associate, Best Value Lab may earn a commission from qualifying purchases.